Deploy Llama 3.2 11B Vision with TGI DLC on Vertex AI
Llama 3.2 is the latest release of open LLMs from the Llama family released by Meta (as of October 2024); Llama 3.2 Vision comes in two sizes: 11B for efficient deployment and development on consumer-size GPU, and 90B for large-scale applications. Text Generation Inference (TGI) is a toolkit developed by Hugging Face for deploying and serving LLMs, with high performance text generation. And, Google Vertex AI is a Machine Learning (ML) platform that lets you train and deploy ML models and AI applications, and customize large language models (LLMs) for use in your AI-powered applications.
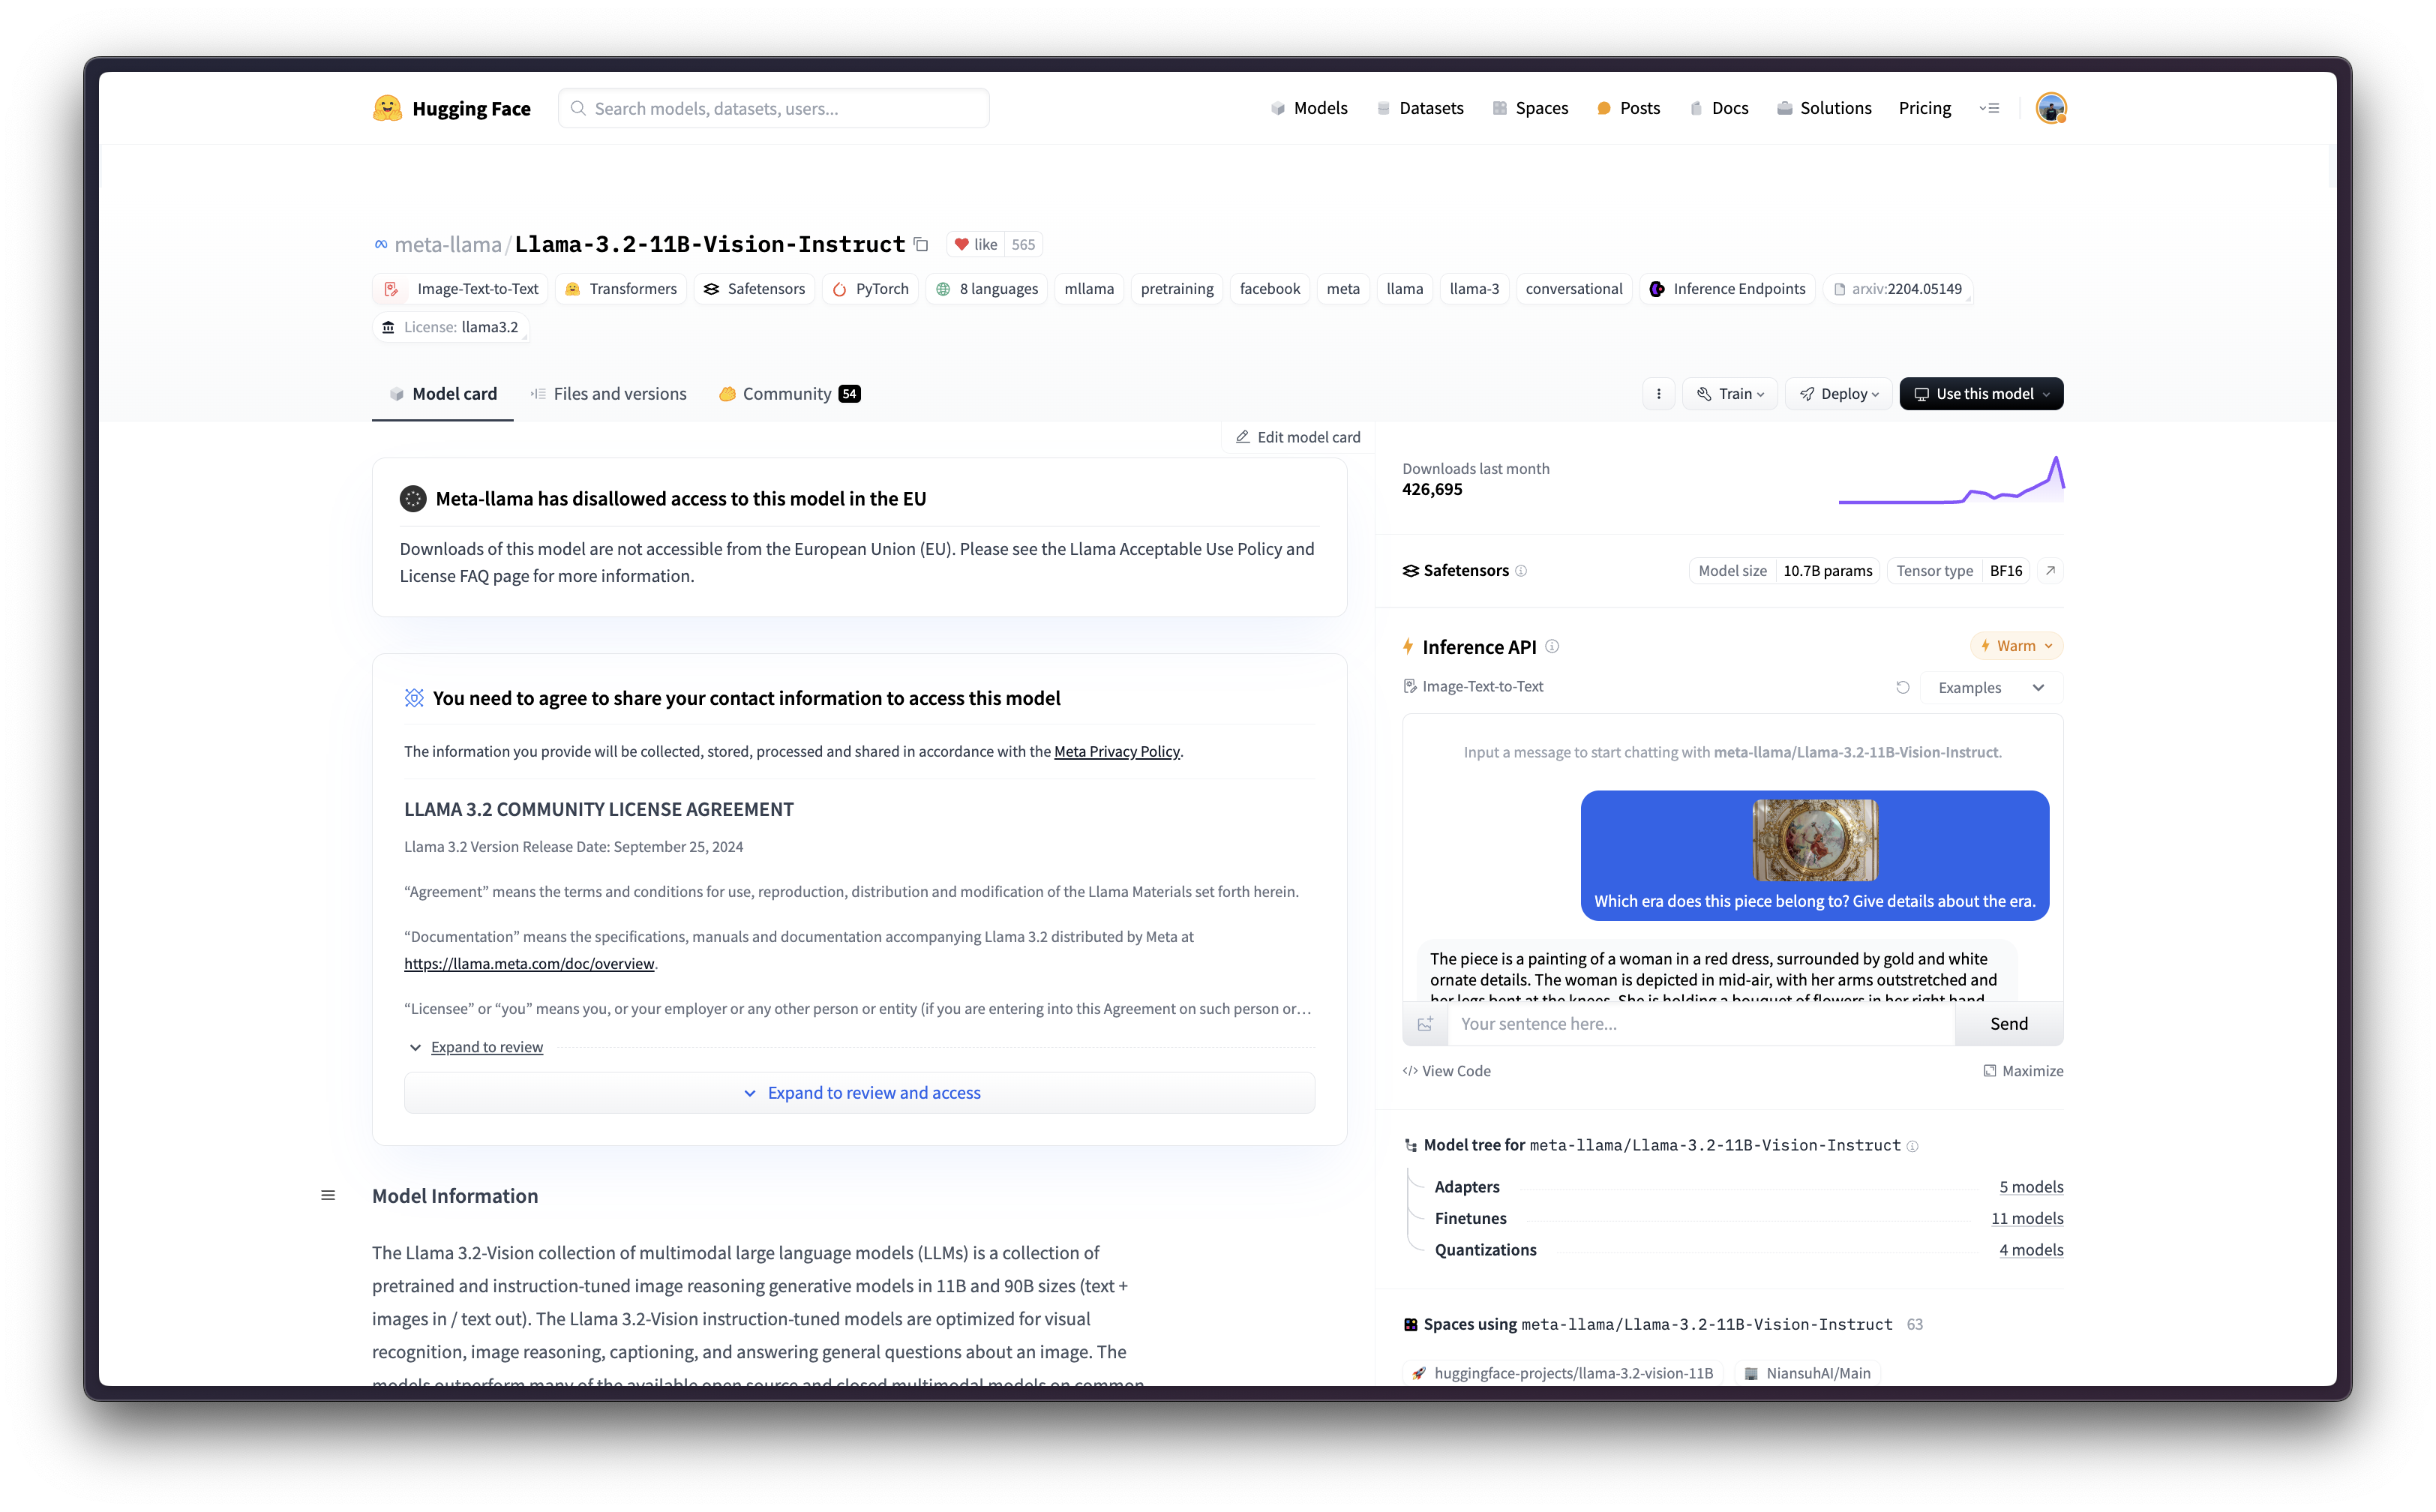
This example showcases how to deploy meta-llama/Llama-3.2-11B-Vision-Instruct on Vertex AI via the Hugging Face purpose-built Deep Learning Container (DLC) for Text Generation Inference (TGI) on Google Cloud.
Regarding the licensing terms, Llama 3.2 comes with a very similar license to Llama 3.1, with one key difference in the acceptable use policy: any individual domiciled in, or a company with a principal place of business in, the European Union (EU) is not being granted the license rights to use multimodal models included in Llama 3.2. This restriction does not apply to end users of a product or service that incorporates any such multimodal models, so people can still build global products with the vision variants.
For full details, please make sure to read the official license and the acceptable use policy.

Setup / Configuration
First, you need to install gcloud in your local machine, which is the command-line tool for Google Cloud, following the instructions at Cloud SDK Documentation - Install the gcloud CLI.
Then, you also need to install the google-cloud-aiplatform Python SDK, required to programmatically create the Vertex AI model, register it, acreate the endpoint, and deploy it on Vertex AI.
!pip install --upgrade --quiet google-cloud-aiplatform
Optionally, to ease the usage of the commands within this tutorial, you need to set the following environment variables for GCP:
%env PROJECT_ID=your-project-id
%env LOCATION=your-location
%env CONTAINER_URI=us-docker.pkg.dev/deeplearning-platform-release/gcr.io/huggingface-text-generation-inference-cu124.2-3.ubuntu2204.py311
Then you need to login into your GCP account and set the project ID to the one you want to use to register and deploy the models on Vertex AI.
!gcloud auth login
!gcloud auth application-default login  # For local development
!gcloud config set project $PROJECT_ID
Once you are logged in, you need to enable the necessary service APIs in GCP, such as the Vertex AI API, the Compute Engine API, and Google Container Registry related APIs.
!gcloud services enable aiplatform.googleapis.com
!gcloud services enable compute.googleapis.com
!gcloud services enable container.googleapis.com
!gcloud services enable containerregistry.googleapis.com
!gcloud services enable containerfilesystem.googleapis.com
Once everything is set up, you can already initialize the Vertex AI session via the google-cloud-aiplatform Python SDK as follows:
import os
from google.cloud import aiplatform

aiplatform.init(
    project=os.getenv("PROJECT_ID"),
    location=os.getenv("LOCATION"),
)
Register model on Vertex AI
As meta-llama/Llama-3.2-11B-Vision-Instruct is a gated model with restricted access on the European Union (EU), meaning that you need to accept the license agreement.
To generate a token for the Hugging Face Hub, you can follow the instructions in Hugging Face Hub - User access tokens; the generated token can either be fine-grained to have access to the model, or just overall read-only access to your account.
!pip install --upgrade --quiet huggingface_hub
from huggingface_hub import interpreter_login

interpreter_login()
Then you can already “upload” the model i.e. register the model on Vertex AI. It is not an upload per se, since the model will be automatically downloaded from the Hugging Face Hub in the Hugging Face DLC for TGI on startup via the MODEL_ID environment variable, so what is uploaded is only the configuration, not the model weights.
Before going into the code, let’s quickly review the arguments provided to the upload method:
display_nameis the name that will be shown in the Vertex AI Model Registry.serving_container_image_uriis the location of the Hugging Face DLC for TGI that will be used for serving the model.serving_container_environment_variablesare the environment variables that will be used during the container runtime, so these are aligned with the environment variables defined bytext-generation-inference, which are analog to thetext-generation-launcherarguments. Additionally, the Hugging Face DLCs for TGI also capture theAIP_environment variables from Vertex AI as in Vertex AI Documentation - Custom container requirements for prediction.MODEL_IDis the identifier of the model in the Hugging Face Hub. To explore all the supported models you can check the models tagged withtext-generation-inferencein the Hugging Face Hub.NUM_SHARDis the number of shards to use if you don’t want to use all GPUs on a given machine e.g. if you have two GPUs but you just want to use one for TGI thenNUM_SHARD=1, otherwise it matches theCUDA_VISIBLE_DEVICES.MAX_INPUT_TOKENSis the maximum allowed input length (expressed in number of tokens), the larger it is, the larger the prompt can be, but also more memory will be consumed.MAX_TOTAL_TOKENSis the most important value to set as it defines the “memory budget” of running clients requests, the larger this value, the larger amount each request will be in your RAM and the less effective batching can be.MAX_BATCH_PREFILL_TOKENSlimits the number of tokens for the prefill operation, as it takes the most memory and is compute bound, it is interesting to limit the number of requests that can be sent.HF_HUB_ENABLE_HF_TRANSFERto enable a faster download speed via the hf_transfer library.HUGGING_FACE_HUB_TOKENis the Hugging Face Hub token, required asmeta-llama/Llama-3.2-11B-Vision-Instructis a gated model with restricted access in the European Union (EU).Additionally, you need to specify the
MESSAGES_API_ENABLEDenvironment variable that was introduced in the TGI 2.3.0 Release, since the Messages API is required to process both the text and the images within the input payload.MESSAGES_API_ENABLEDset to “true” to use the Messages API i.e./v1/chat/completions, instead of the Generation API i.e./generation(default).
(optional)
serving_container_portsis the port where the Vertex AI endpoint will be exposed, by default 8080.
For more information on the supported arguments you can check aiplatform.Model.upload Python reference.
Note that the MESSAGES_API_ENABLED flag will only work from the TGI 2.3 DLC i.e. us-docker.pkg.dev/deeplearning-platform-release/gcr.io/huggingface-text-generation-inference-cu124.2-3.ubuntu2204.py311, onwards.
For the previous releases the MESSAGES_API_ENABLED flag won’t work as it was introduced in the following TGI PR, the uncompatible releases being:
us-docker.pkg.dev/deeplearning-platform-release/gcr.io/huggingface-text-generation-inference-cu121.1-4.ubuntu2204.py310us-docker.pkg.dev/deeplearning-platform-release/gcr.io/huggingface-text-generation-inference-cu121.2-0.ubuntu2204.py310us-docker.pkg.dev/deeplearning-platform-release/gcr.io/huggingface-text-generation-inference-cu121.2-1.ubuntu2204.py310us-docker.pkg.dev/deeplearning-platform-release/gcr.io/huggingface-text-generation-inference-cu121.2-2.ubuntu2204.py310
from huggingface_hub import get_token

model = aiplatform.Model.upload(
    display_name="Llama-Vision-11B",
    serving_container_image_uri=os.getenv("CONTAINER_URI"),
    serving_container_environment_variables={
        "MODEL_ID": "meta-llama/Llama-3.2-11B-Vision-Instruct",
        "NUM_SHARD": "2",
        "MAX_INPUT_TOKENS": "512",
        "MAX_TOTAL_TOKENS": "1024",
        "MAX_BATCH_PREFILL_TOKENS": "1512",
        "HF_HUB_ENABLE_HF_TRANSFER": "1",
        "HUGGING_FACE_HUB_TOKEN": get_token(),
        "MESSAGES_API_ENABLED": "true",
    },
    serving_container_ports=[8080],
)
model.wait()
Deploy model on Vertex AI
After the model is registered on Vertex AI, you need to define the endpoint that you want to deploy the model to, and then link the model deployment to that endpoint resource.
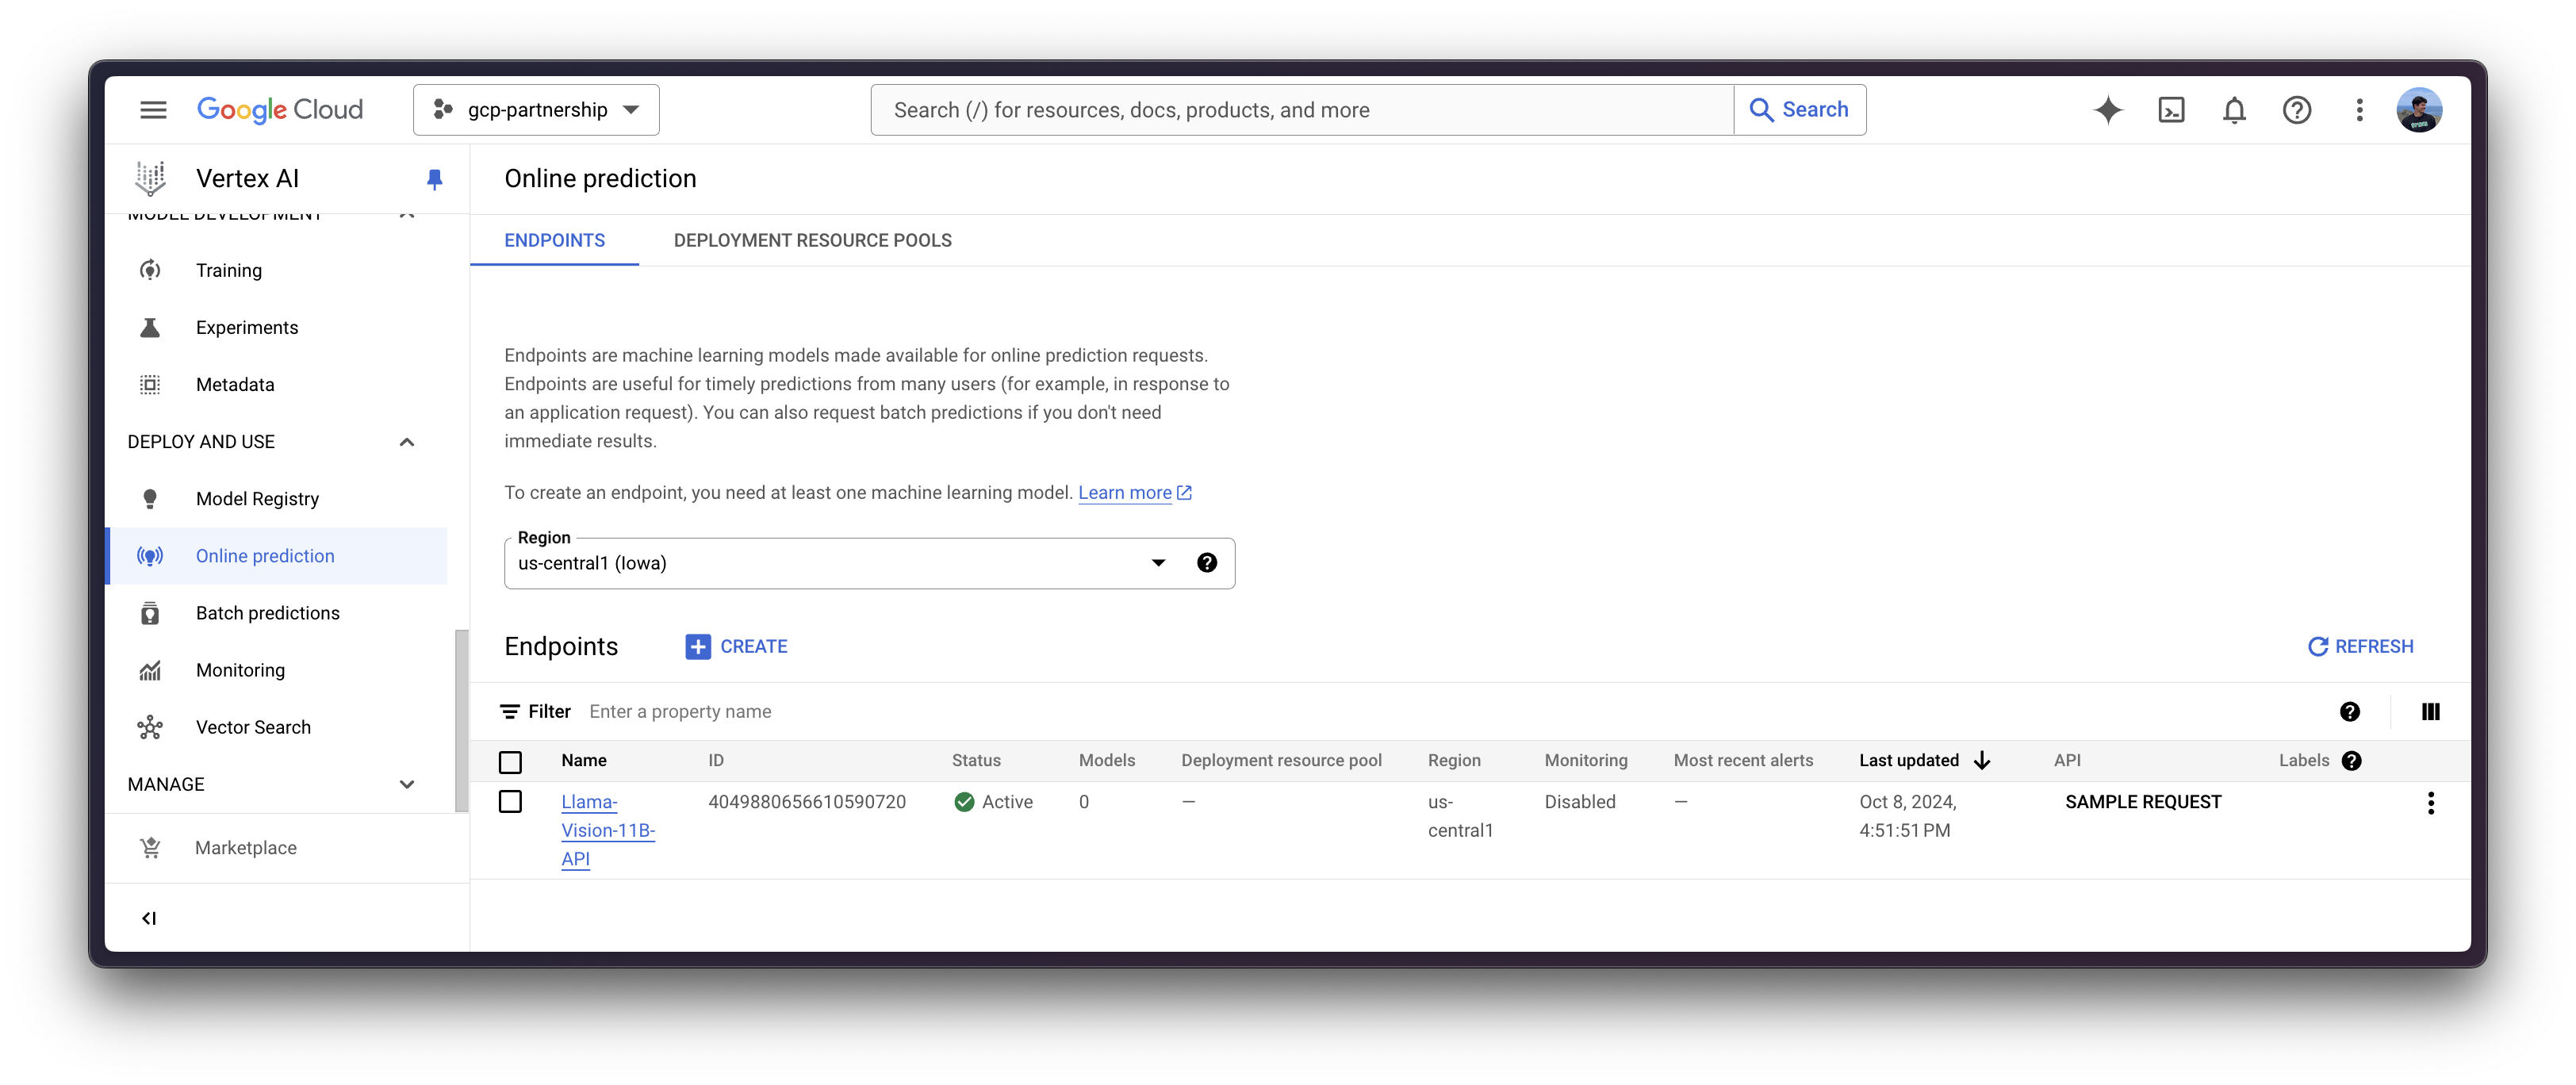
To do so, you need to call the method aiplatform.Endpoint.create to create a new Vertex AI endpoint resource (which is not linked to a model or anything usable yet).
endpoint = aiplatform.Endpoint.create(display_name="Llama-Vision-11B-API")
Now you can deploy the registered model in an endpoint on Vertex AI.
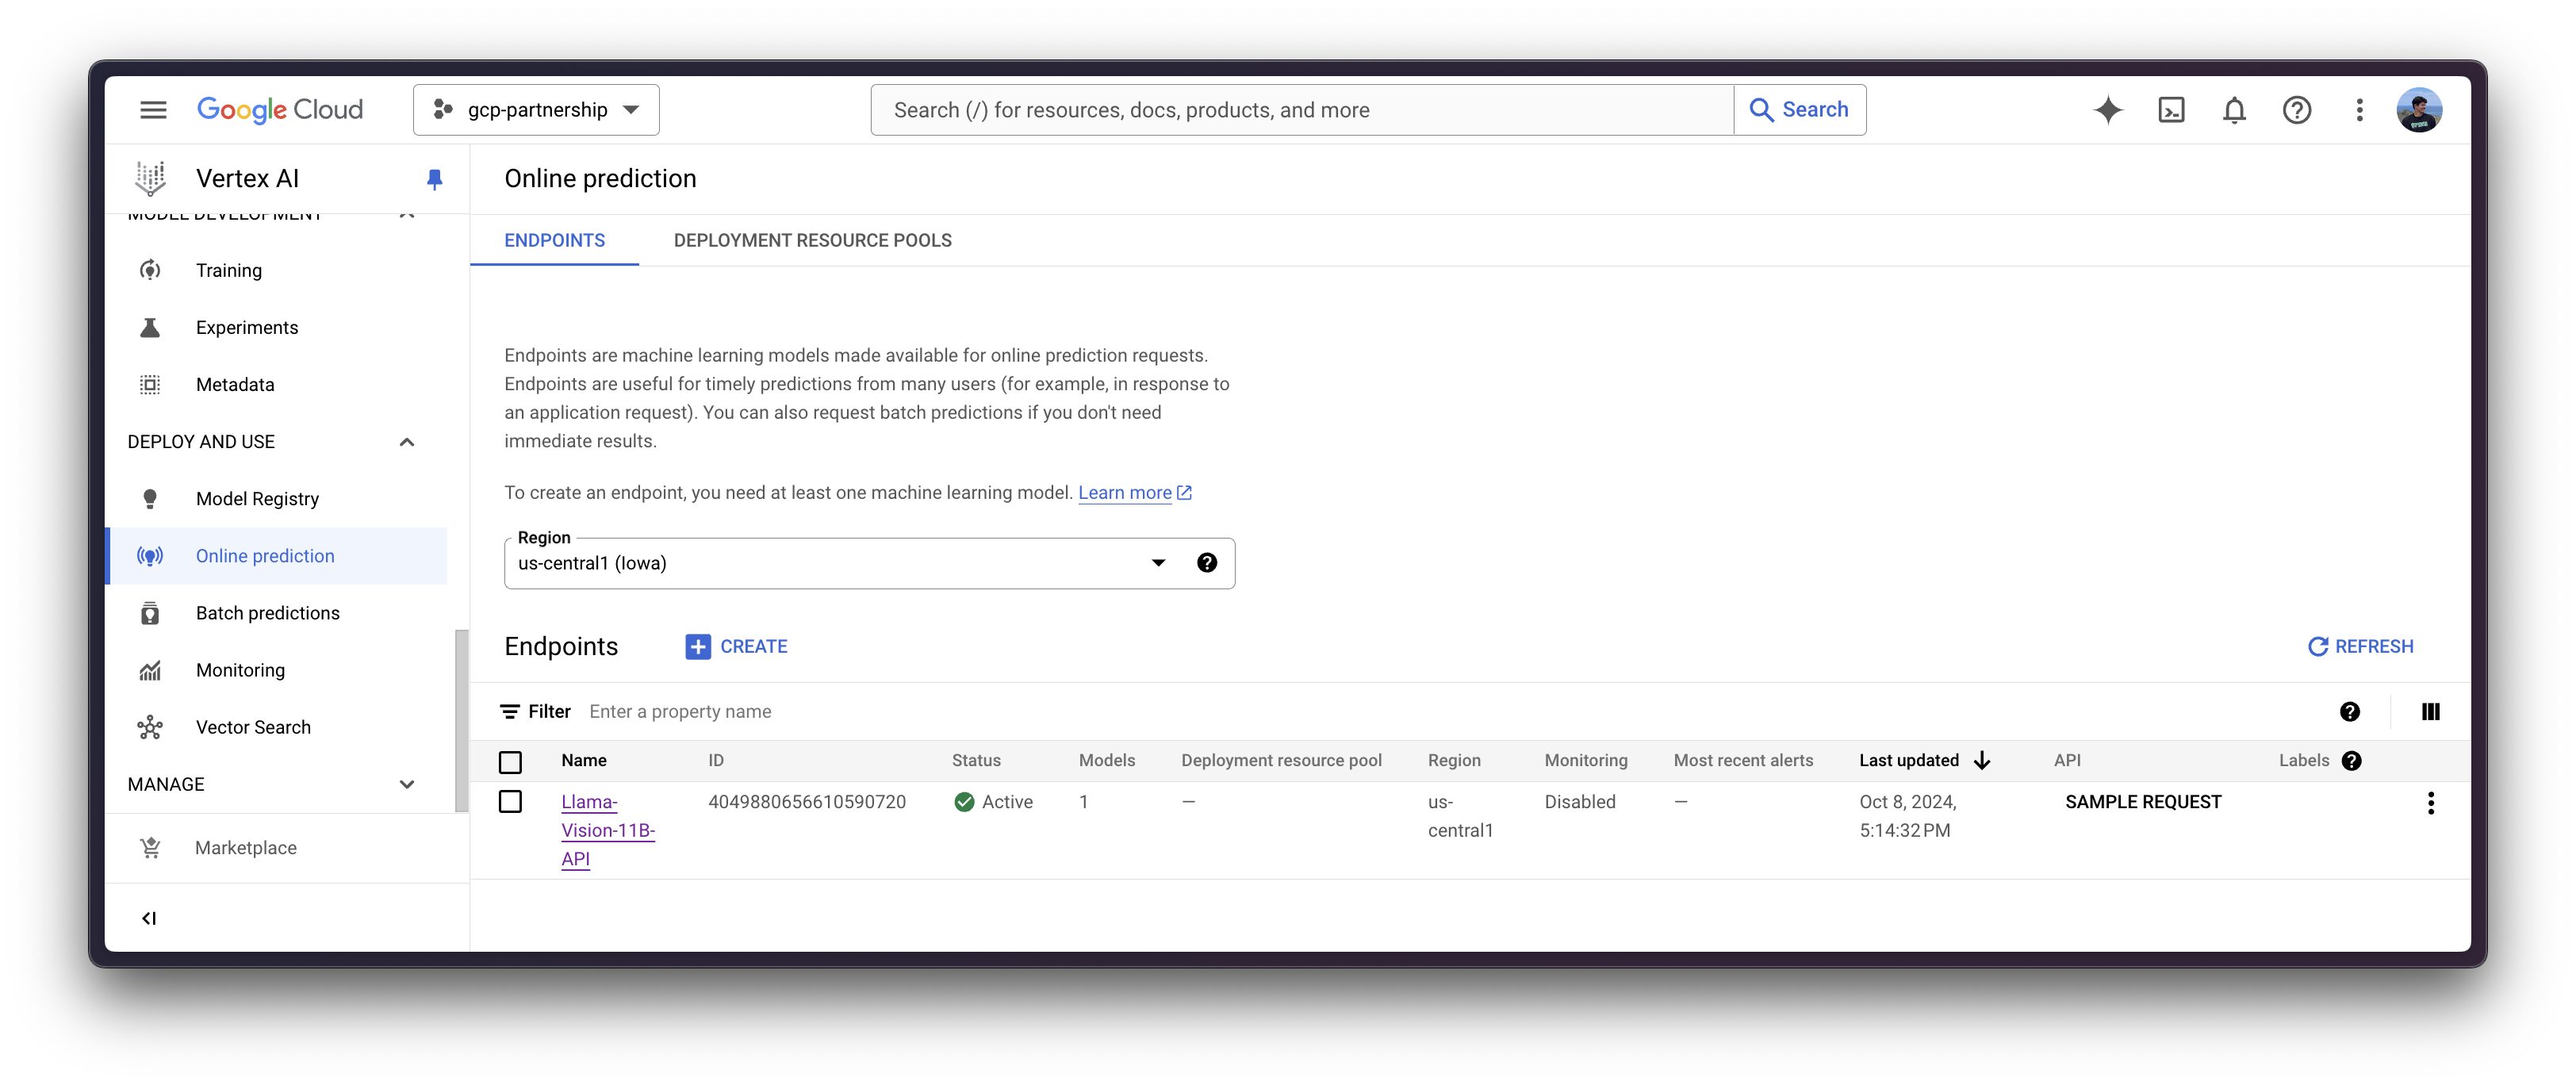
The deploy method will link the previously created endpoint resource with the model that contains the configuration of the serving container, and then, it will deploy the model on Vertex AI in the specified instance.
Before going into the code, let’s quickly review the arguments provided to the deploy method:
endpointis the endpoint to deploy the model to, which is optional, and by default will be set to the model display name with the_endpointsuffix.machine_type,accelerator_typeandaccelerator_countare arguments that define which instance to use, and additionally, the accelerator to use and the number of accelerators, respectively. Themachine_typeand theaccelerator_typeare tied together, so you will need to select an instance that supports the accelerator that you are using and vice-versa. More information about the different instances at Compute Engine Documentation - GPU machine types, and about theaccelerator_typenaming at Vertex AI Documentation - MachineSpec.
For more information on the supported arguments you can check aiplatform.Model.deploy Python reference.
deployed_model = model.deploy(
    endpoint=endpoint,
    machine_type="g2-standard-24",
    accelerator_type="NVIDIA_L4",
    accelerator_count=2,
)WARNING: The Vertex AI endpoint deployment via the deploy method may take from 15 to 25 minutes.

Online predictions on Vertex AI
Finally, you can run the online predictions on Vertex AI using the predict method, which will send the requests to the running endpoint in the /predict route specified within the container following Vertex AI I/O payload formatting.
Note that the input payload differs a bit from the standard Text Generation Inference (TGI), as meta-llama/Llama-3.2-11B-Vision-Instruct is a Visual Language Model (VLM), as those models consume both text and images. More information in Vision Language Model Inference in TGI.
Via Python
Within the same session
If you are willing to run the online prediction within the current session, you can send requests programmatically via the aiplatform.Endpoint (returned by the aiplatform.Model.deploy method) as in the following snippet:
output = deployed_model.predict(
    instances=[
        {
            "messages": [
                {
                    "role": "user",
                    "content": [
                        {"type": "text", "text": "What's in this image?"},
                        {
                            "type": "image_url",
                            "image_url": {
                                "url": "https://huggingface.co/datasets/huggingface/documentation-images/resolve/main/transformers/rabbit.png"
                            },
                        },
                    ],
                },
            ],
            "parameters": {
                "max_new_tokens": 256,
                "do_sample": True,
                "top_p": 0.95,
                "temperature": 1.0,
                "stream": False,
            },
        },
    ],
)
print(output.predictions[0]) | The image depicts a stylized illustration of an anthropomorphic rabbit dressed in a space suit, standing on a rocky, alien-like planet. |
From a different session
If the Vertex AI Endpoint was deployed in a different session and you want to use it but don’t have access to the deployed_model variable returned by the aiplatform.Model.deploy method as in the previous section; you can also run the following snippet to instantiate the deployed aiplatform.Endpoint via its resource name as projects/{PROJECT_ID}/locations/{LOCATION}/endpoints/{ENDPOINT_ID}.
Note that you will need to either retrieve the resource name i.e. the projects/{PROJECT_ID}/locations/{LOCATION}/endpoints/{ENDPOINT_ID} URL yourself via the Google Cloud Console, or just replace the ENDPOINT_ID below that can either be found via the previously instantiated endpoint as endpoint.id or via the Google Cloud Console under the Online predictions where the endpoint is listed.
import os
from google.cloud import aiplatform

aiplatform.init(project=os.getenv("PROJECT_ID"), location=os.getenv("LOCATION"))

endpoint_display_name = "Llama-Vision-11B-API"  # TODO: change to your endpoint display name

# Iterates over all the Vertex AI Endpoints within the current project and keeps the first match (if any), otherwise set to None
ENDPOINT_ID = next(
    (endpoint.name for endpoint in aiplatform.Endpoint.list() if endpoint.display_name == endpoint_display_name), None
)
assert ENDPOINT_ID, (
    "`ENDPOINT_ID` is not set, please make sure that the `endpoint_display_name` is correct at "
    f"https://console.cloud.google.com/vertex-ai/online-prediction/endpoints?project={os.getenv('PROJECT_ID')}"
)

endpoint = aiplatform.Endpoint(
    f"projects/{os.getenv('PROJECT_ID')}/locations/{os.getenv('LOCATION')}/endpoints/{ENDPOINT_ID}"
)
output = endpoint.predict(
    instances=[
        {
            "messages": [
                {
                    "role": "user",
                    "content": [
                        {
                            "type": "text",
                            "text": "How long does it take from invoice date to due date? Be short and concise.",
                        },
                        {
                            "type": "image_url",
                            "image_url": {
                                "url": "https://huggingface.co/datasets/huggingface/release-assets/resolve/main/invoice.png"
                            },
                        },
                    ],
                },
            ],
            "parameters": {
                "max_new_tokens": 256,
                "do_sample": True,
                "top_p": 0.95,
                "temperature": 1.0,
                "stream": False,
            },
        },
    ],
)
print(output.predictions[0]) | To calculate the time difference between the invoice date and the due date, we need to subtract the invoice date from the due date. Invoice Date: 11/02/2019 Due Date: 26/02/2019 Time Difference = Due Date - Invoice Date Time Difference = 26/02/2019 - 11/02/2019 Time Difference = 15 days Therefore, it takes 15 days from the invoice date to the due date. |
Via the Vertex AI Online Prediction UI
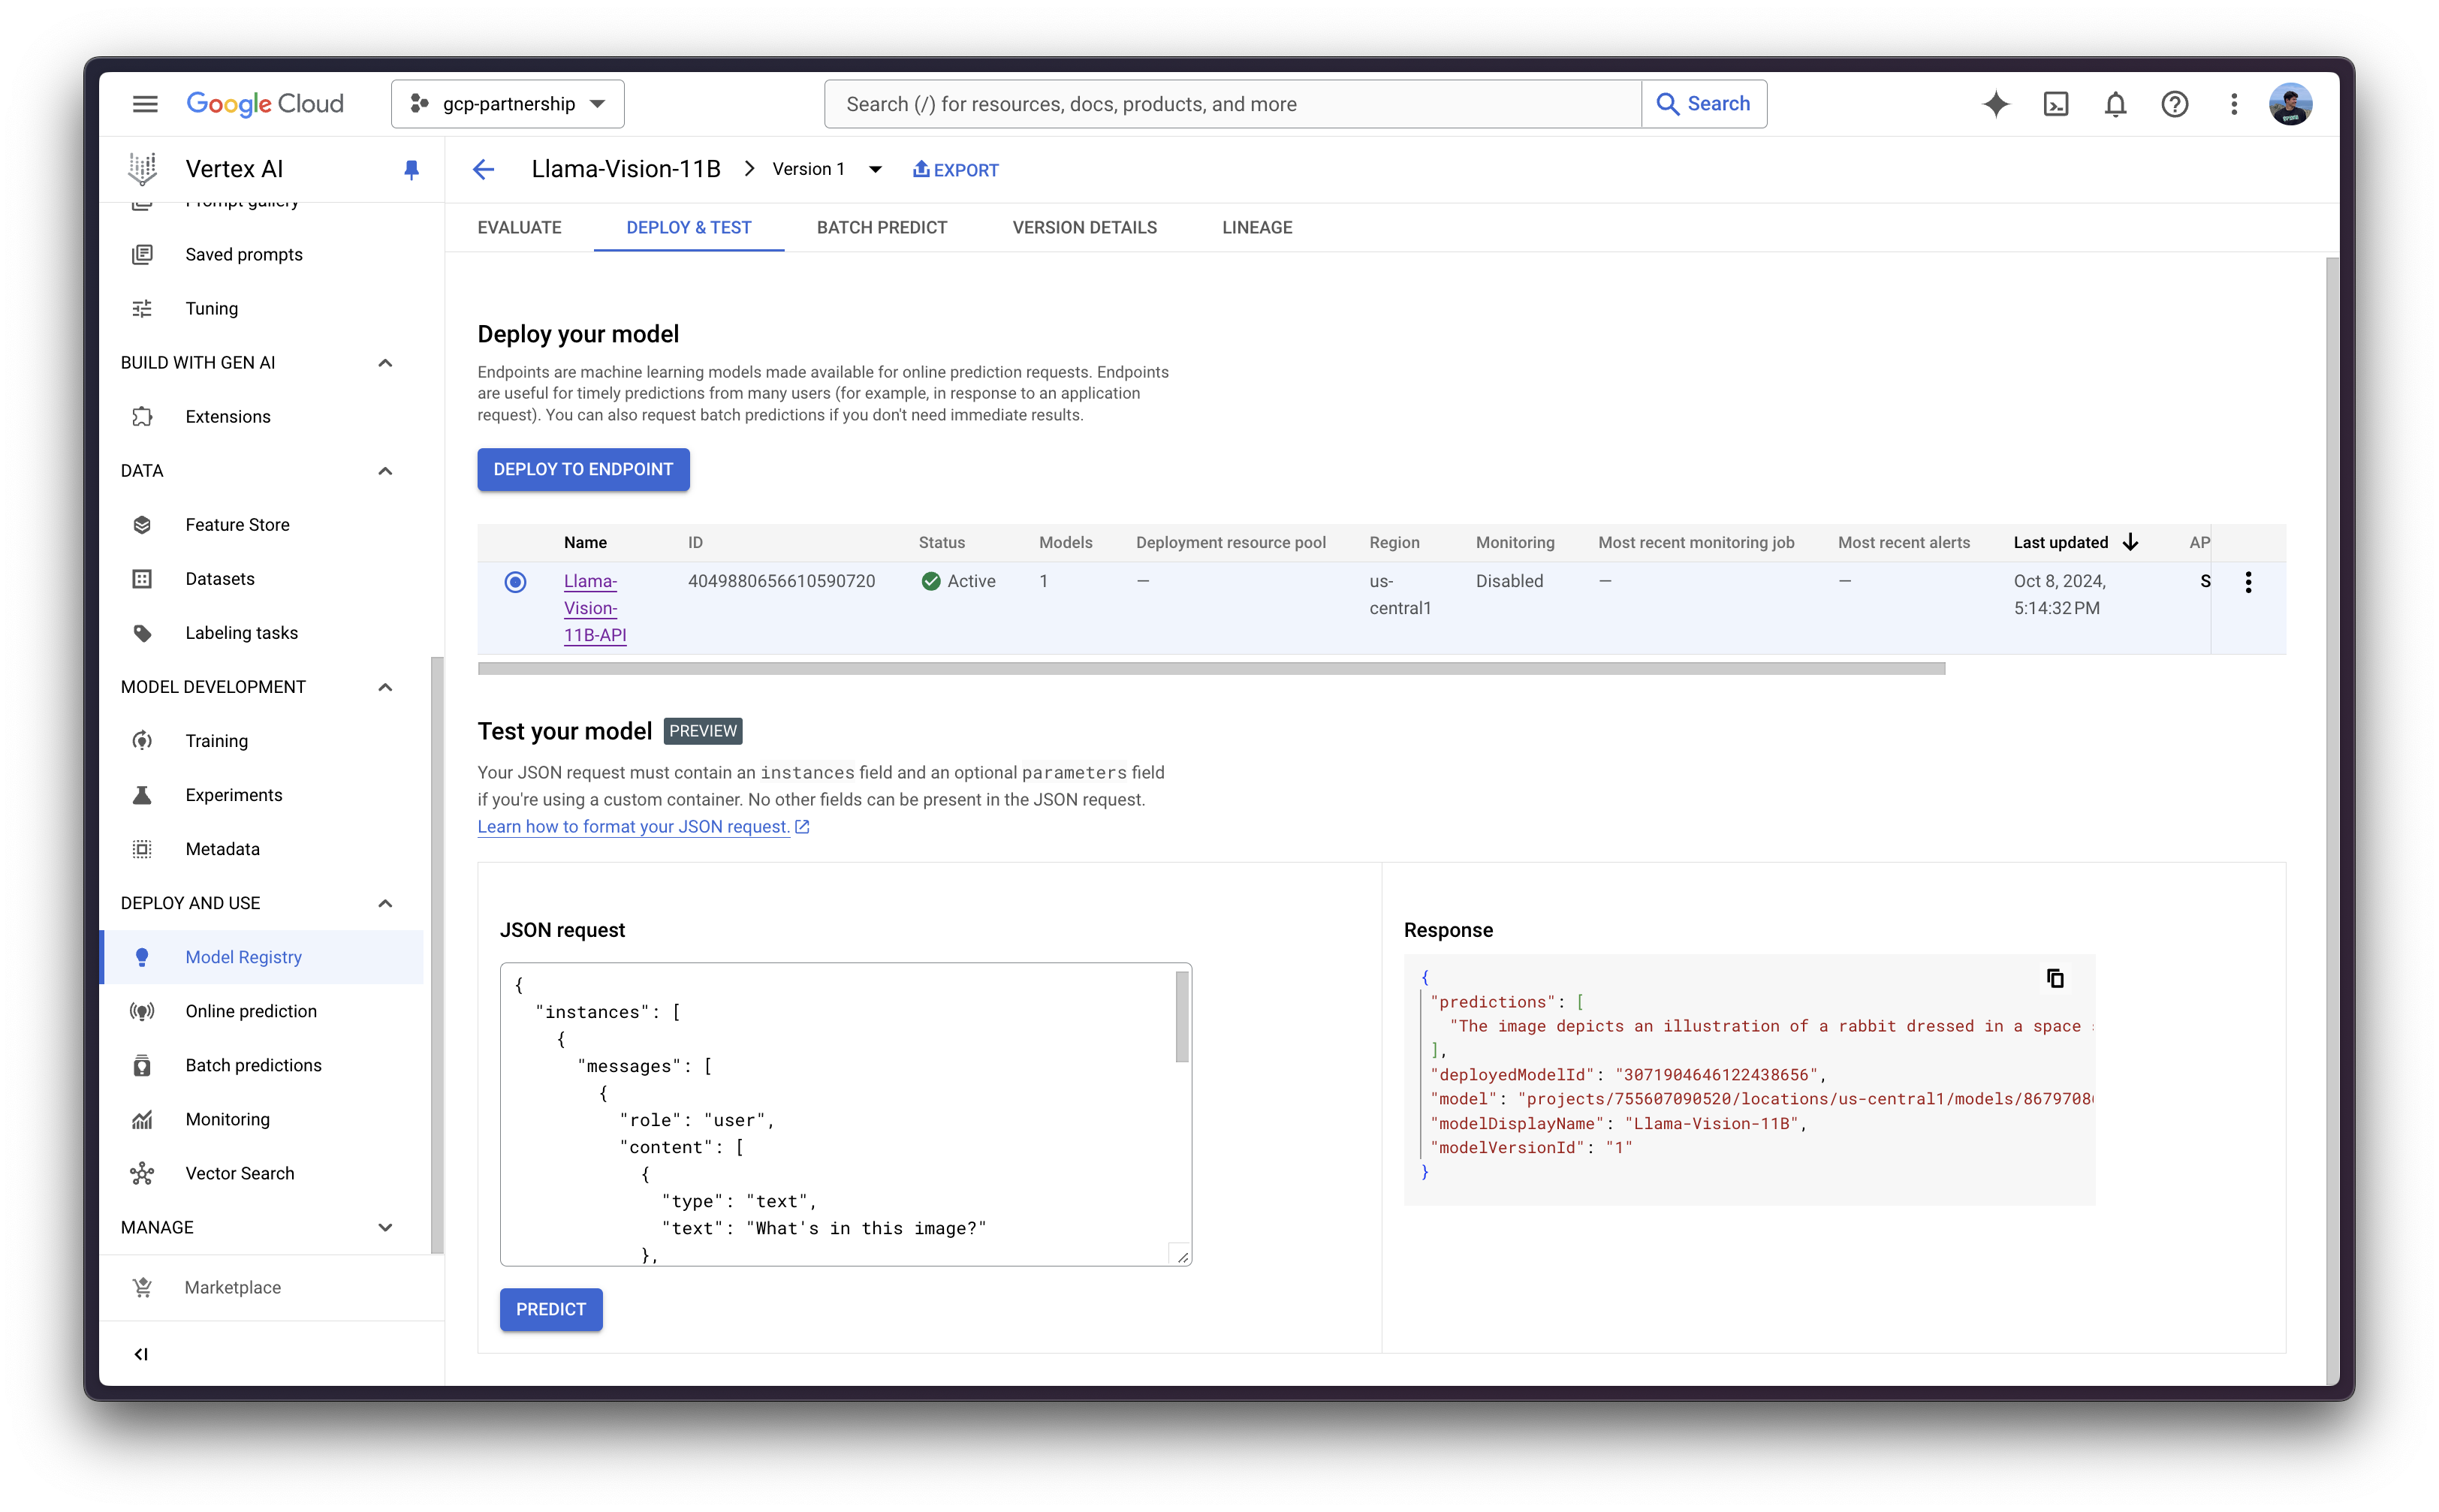
Alternatively, for testing purposes you can also use the Vertex AI Online Prediction UI, that provides a field that expects the JSON payload formatted according to the Vertex AI specification (as in the examples above) being:
{
    "instances": [
        {
            "messages": [
                {
                    "role": "user",
                    "content": [
                        {
                            "type": "text",
                            "text": "What's in this image?"
                        },
                        {
                            "type": "image_url",
                            "image_url": {
                                "url": "https://huggingface.co/datasets/huggingface/documentation-images/resolve/main/transformers/rabbit.png"
                            }
                        }
                    ]
                }
            ],
            "parameters": {
                "max_new_tokens": 256,
                "do_sample": true,
                "top_p": 0.95,
                "temperature": 1.0,
                "stream": false
            }
        }
    ]
}
Resource clean-up
Finally, you can already release the resources that you’ve created as follows, to avoid unnecessary costs:
deployed_model.undeploy_allto undeploy the model from all the endpoints.deployed_model.deleteto delete the endpoint/s where the model was deployed gracefully, after theundeploy_allmethod.model.deleteto delete the model from the registry.
deployed_model.undeploy_all()
deployed_model.delete()
model.delete()
Alternatively, you can also remove those from the Google Cloud Console following the steps:
- Go to Vertex AI in Google Cloud
- Go to Deploy and use -> Online prediction
- Click on the endpoint and then on the deployed model/s to “Undeploy model from endpoint”
- Then go back to the endpoint list and remove the endpoint
- Finally, go to Deploy and use -> Model Registry, and remove the model
📍 Find the complete example on GitHub here!