Outpainting
Outpainting extends an image beyond its original boundaries, allowing you to add, replace, or modify visual elements in an image while preserving the original image. Like inpainting, you want to fill the white area (in this case, the area outside of the original image) with new visual elements while keeping the original image (represented by a mask of black pixels). There are a couple of ways to outpaint, such as with a ControlNet or with Differential Diffusion.
This guide will show you how to outpaint with an inpainting model, ControlNet, and a ZoeDepth estimator.
Before you begin, make sure you have the controlnet_aux library installed so you can use the ZoeDepth estimator.
!pip install -q controlnet_aux
Image preparation
Start by picking an image to outpaint with and remove the background with a Space like BRIA-RMBG-1.4.
For example, remove the background from this image of a pair of shoes.
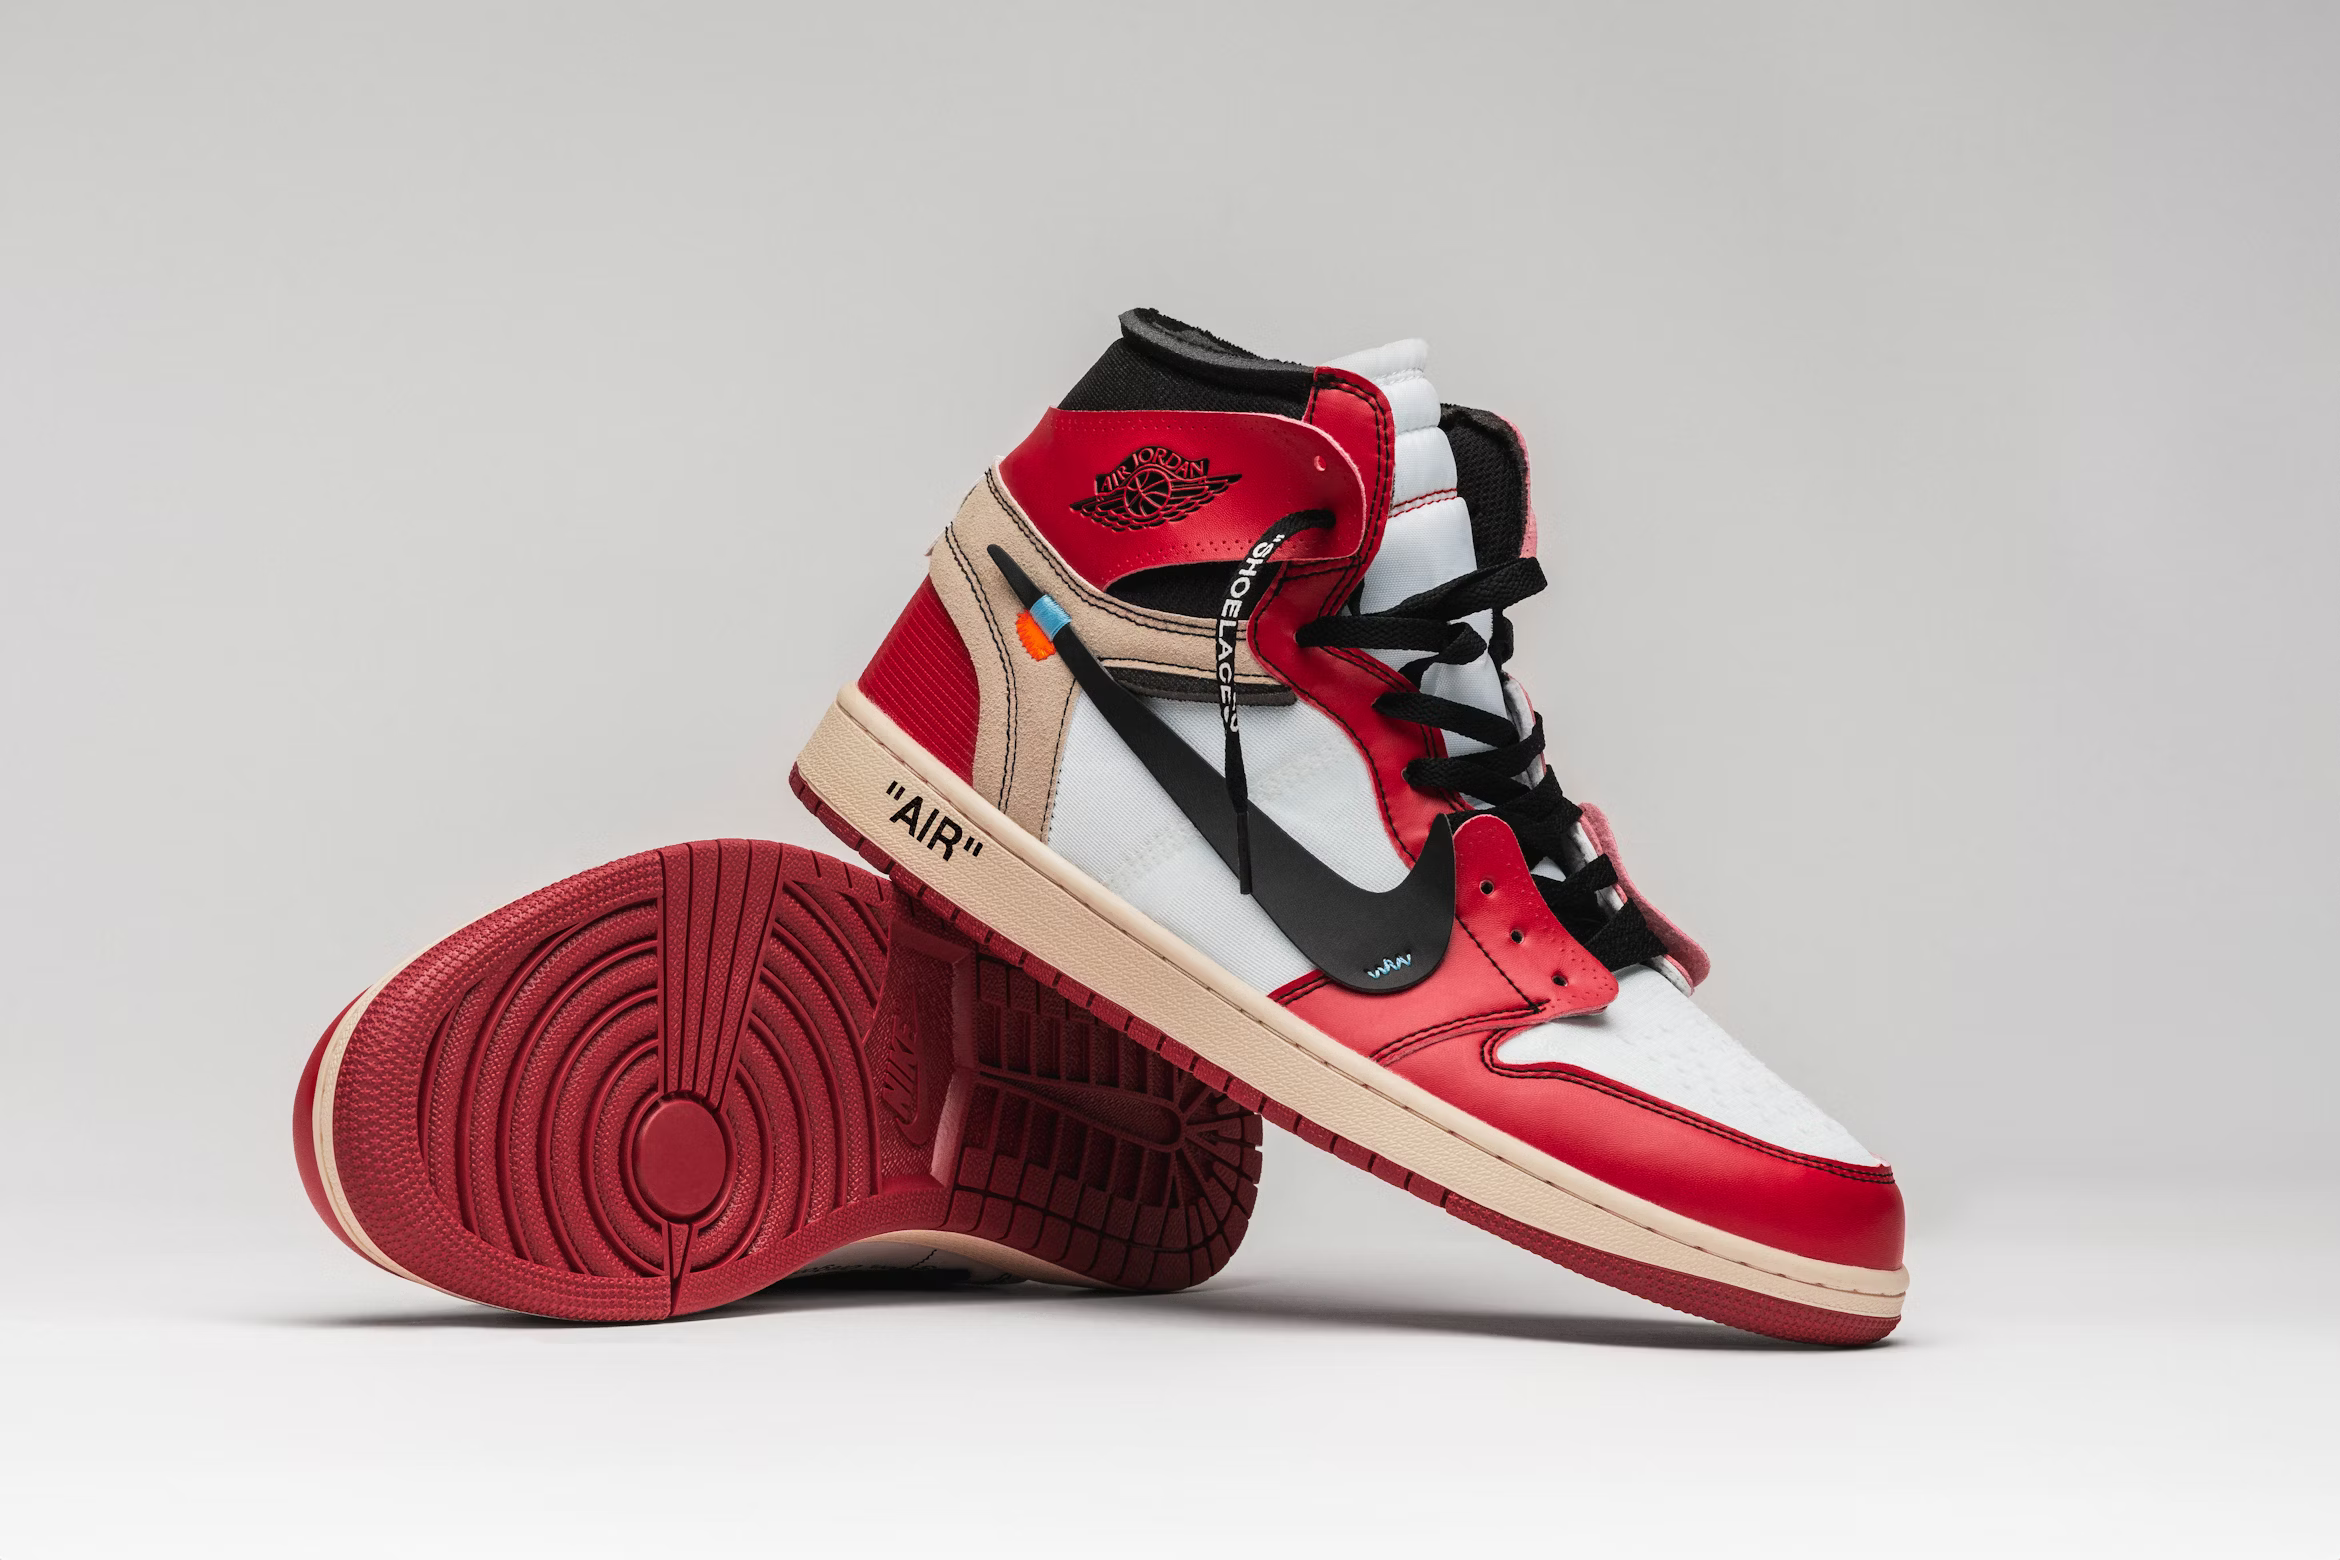
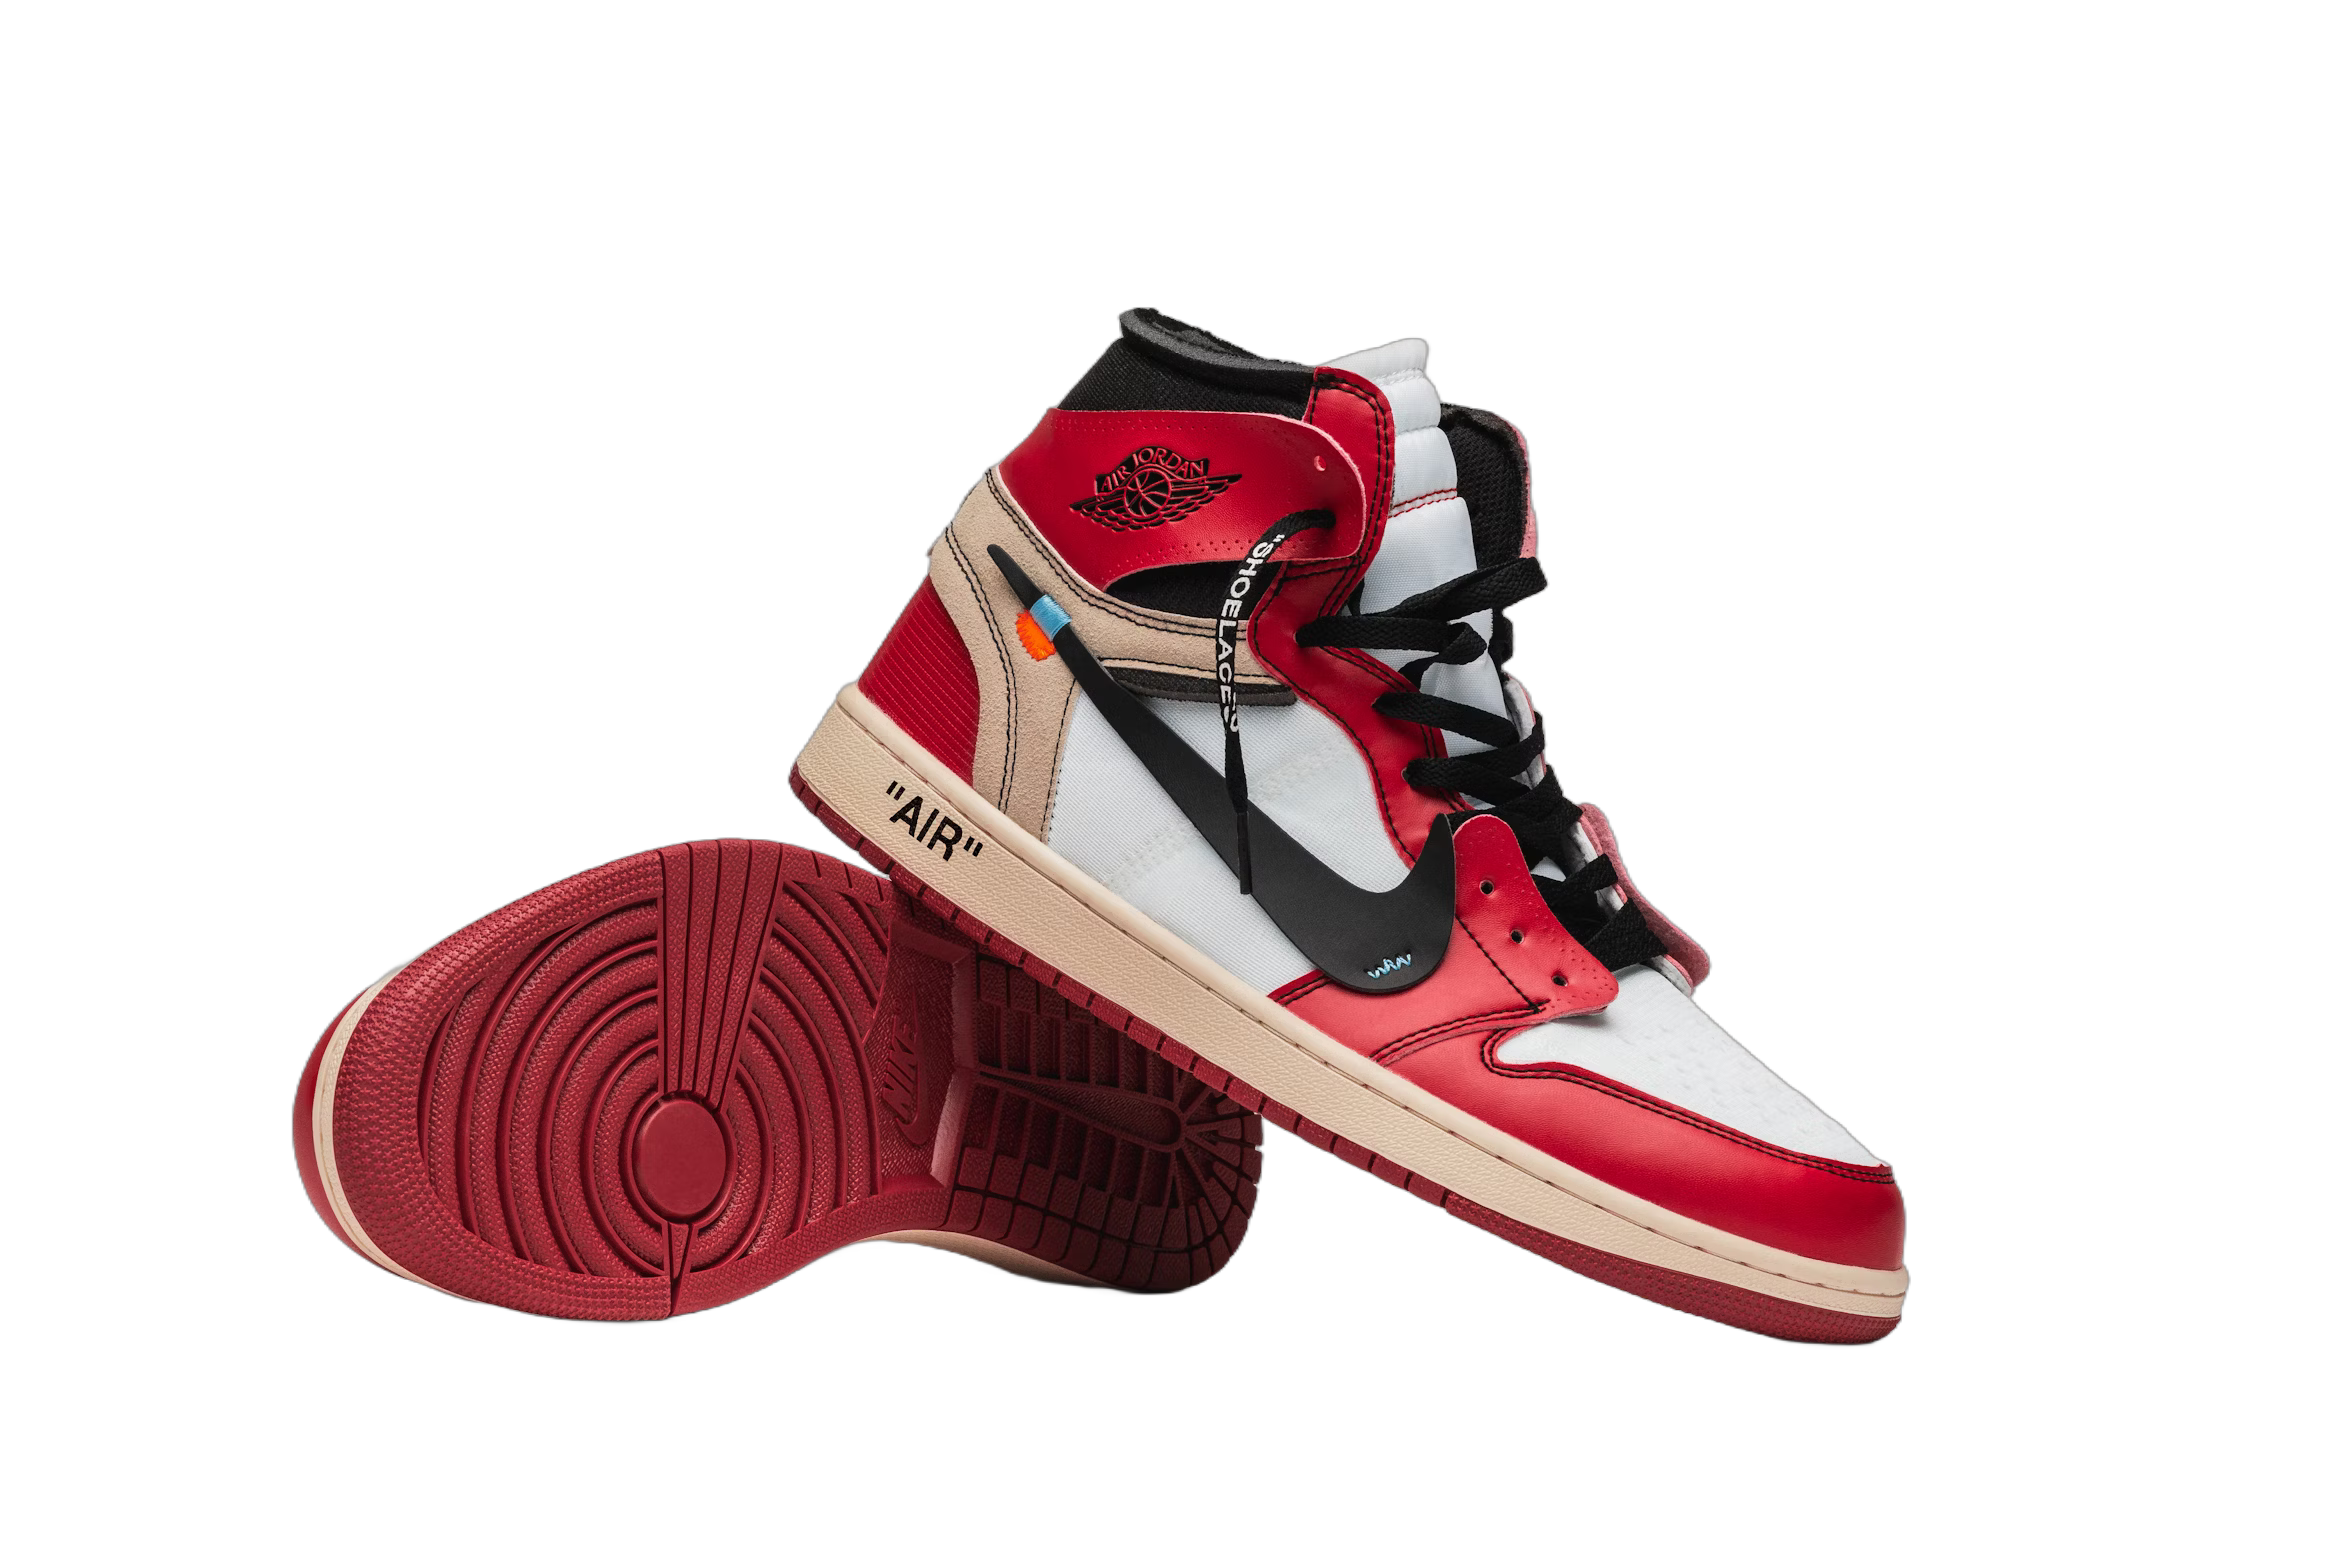
Stable Diffusion XL (SDXL) models work best with 1024x1024 images, but you can resize the image to any size as long as your hardware has enough memory to support it. The transparent background in the image should also be replaced with a white background. Create a function (like the one below) that scales and pastes the image onto a white background.
import random

import requests
import torch
from controlnet_aux import ZoeDetector
from PIL import Image, ImageOps

from diffusers import (
    AutoencoderKL,
    ControlNetModel,
    StableDiffusionXLControlNetPipeline,
    StableDiffusionXLInpaintPipeline,
)

def scale_and_paste(original_image):
    aspect_ratio = original_image.width / original_image.height

    if original_image.width > original_image.height:
        new_width = 1024
        new_height = round(new_width / aspect_ratio)
    else:
        new_height = 1024
        new_width = round(new_height * aspect_ratio)

    resized_original = original_image.resize((new_width, new_height), Image.LANCZOS)
    white_background = Image.new("RGBA", (1024, 1024), "white")
    x = (1024 - new_width) // 2
    y = (1024 - new_height) // 2
    white_background.paste(resized_original, (x, y), resized_original)

    return resized_original, white_background

original_image = Image.open(
    requests.get(
        "https://huggingface.co/datasets/stevhliu/testing-images/resolve/main/no-background-jordan.png",
        stream=True,
    ).raw
).convert("RGBA")
resized_img, white_bg_image = scale_and_paste(original_image)
To avoid adding unwanted extra details, use the ZoeDepth estimator to provide additional guidance during generation and to ensure the shoes remain consistent with the original image.
zoe = ZoeDetector.from_pretrained("lllyasviel/Annotators")
image_zoe = zoe(white_bg_image, detect_resolution=512, image_resolution=1024)
image_zoe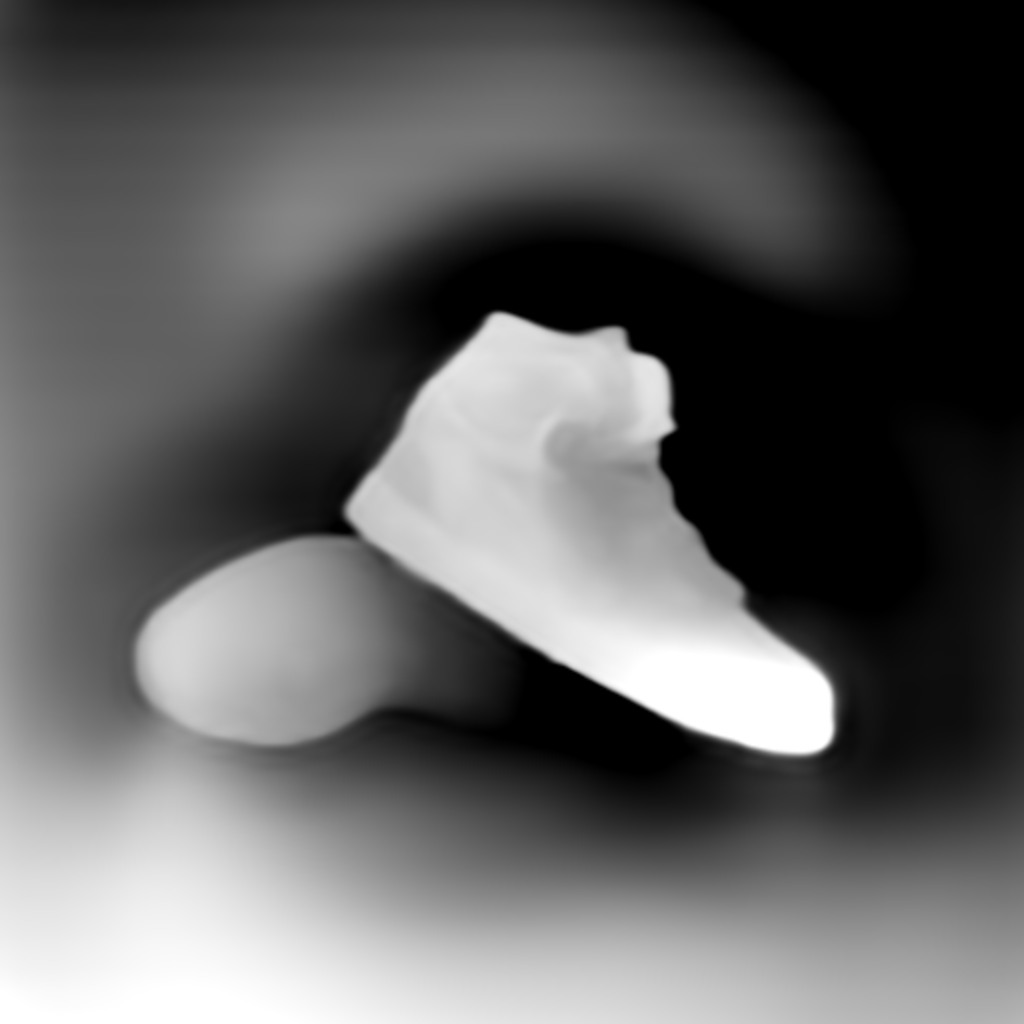
Outpaint
Once your image is ready, you can generate content in the white area around the shoes with controlnet-inpaint-dreamer-sdxl, a SDXL ControlNet trained for inpainting.
Load the inpainting ControlNet, ZoeDepth model, VAE and pass them to the StableDiffusionXLControlNetPipeline. Then you can create an optional generate_image function (for convenience) to outpaint an initial image.
controlnets = [
    ControlNetModel.from_pretrained(
        "destitech/controlnet-inpaint-dreamer-sdxl", torch_dtype=torch.float16, variant="fp16"
    ),
    ControlNetModel.from_pretrained(
        "diffusers/controlnet-zoe-depth-sdxl-1.0", torch_dtype=torch.float16
    ),
]
vae = AutoencoderKL.from_pretrained("madebyollin/sdxl-vae-fp16-fix", torch_dtype=torch.float16).to("cuda")
pipeline = StableDiffusionXLControlNetPipeline.from_pretrained(
    "SG161222/RealVisXL_V4.0", torch_dtype=torch.float16, variant="fp16", controlnet=controlnets, vae=vae
).to("cuda")

def generate_image(prompt, negative_prompt, inpaint_image, zoe_image, seed: int = None):
    if seed is None:
        seed = random.randint(0, 2**32 - 1)

    generator = torch.Generator(device="cpu").manual_seed(seed)

    image = pipeline(
        prompt,
        negative_prompt=negative_prompt,
        image=[inpaint_image, zoe_image],
        guidance_scale=6.5,
        num_inference_steps=25,
        generator=generator,
        controlnet_conditioning_scale=[0.5, 0.8],
        control_guidance_end=[0.9, 0.6],
    ).images[0]

    return image

prompt = "nike air jordans on a basketball court"
negative_prompt = ""

temp_image = generate_image(prompt, negative_prompt, white_bg_image, image_zoe, 908097)
Paste the original image over the initial outpainted image. You’ll improve the outpainted background in a later step.
x = (1024 - resized_img.width) // 2
y = (1024 - resized_img.height) // 2
temp_image.paste(resized_img, (x, y), resized_img)
temp_image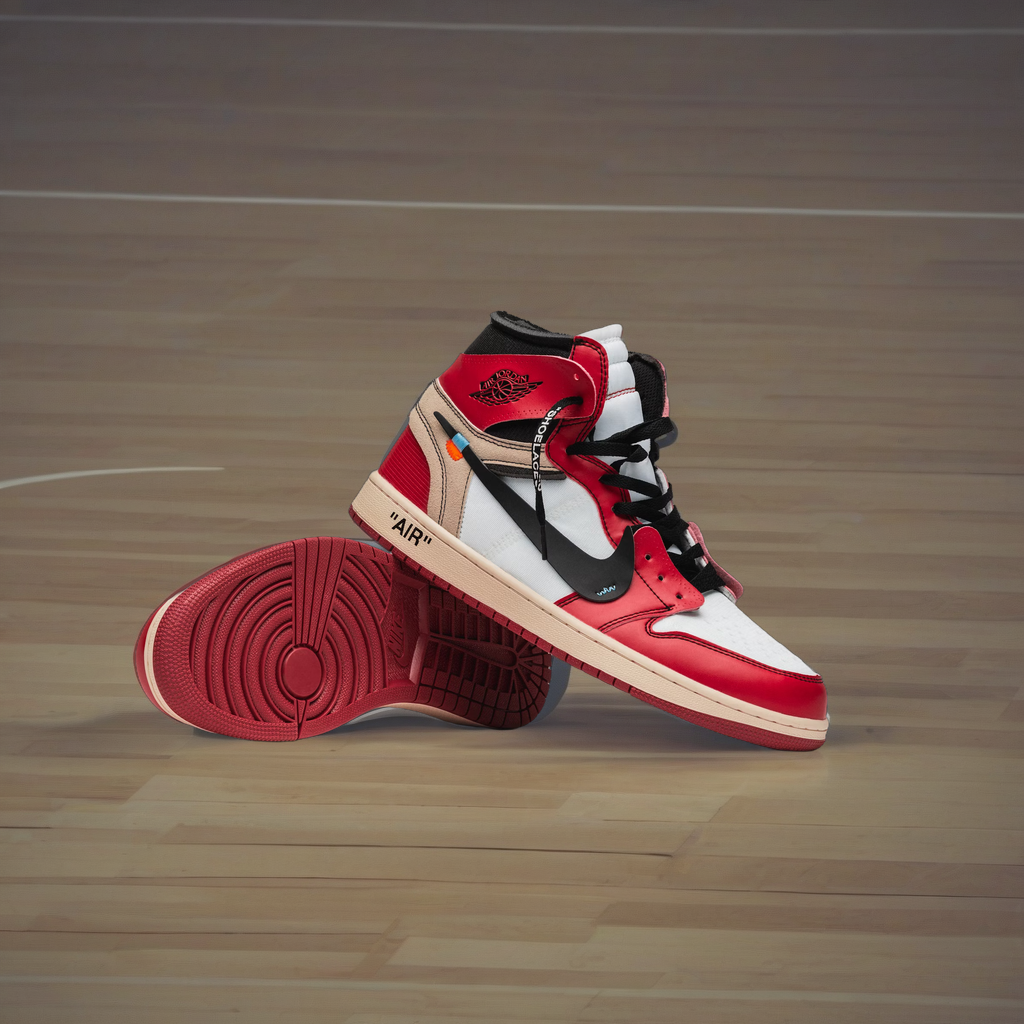
Now is a good time to free up some memory if you’re running low!
pipeline=None
torch.cuda.empty_cache()
Now that you have an initial outpainted image, load the StableDiffusionXLInpaintPipeline with the RealVisXL model to generate the final outpainted image with better quality.
pipeline = StableDiffusionXLInpaintPipeline.from_pretrained(
    "OzzyGT/RealVisXL_V4.0_inpainting",
    torch_dtype=torch.float16,
    variant="fp16",
    vae=vae,
).to("cuda")
Prepare a mask for the final outpainted image. To create a more natural transition between the original image and the outpainted background, blur the mask to help it blend better.
mask = Image.new("L", temp_image.size)
mask.paste(resized_img.split()[3], (x, y))
mask = ImageOps.invert(mask)
final_mask = mask.point(lambda p: p > 128 and 255)
mask_blurred = pipeline.mask_processor.blur(final_mask, blur_factor=20)
mask_blurred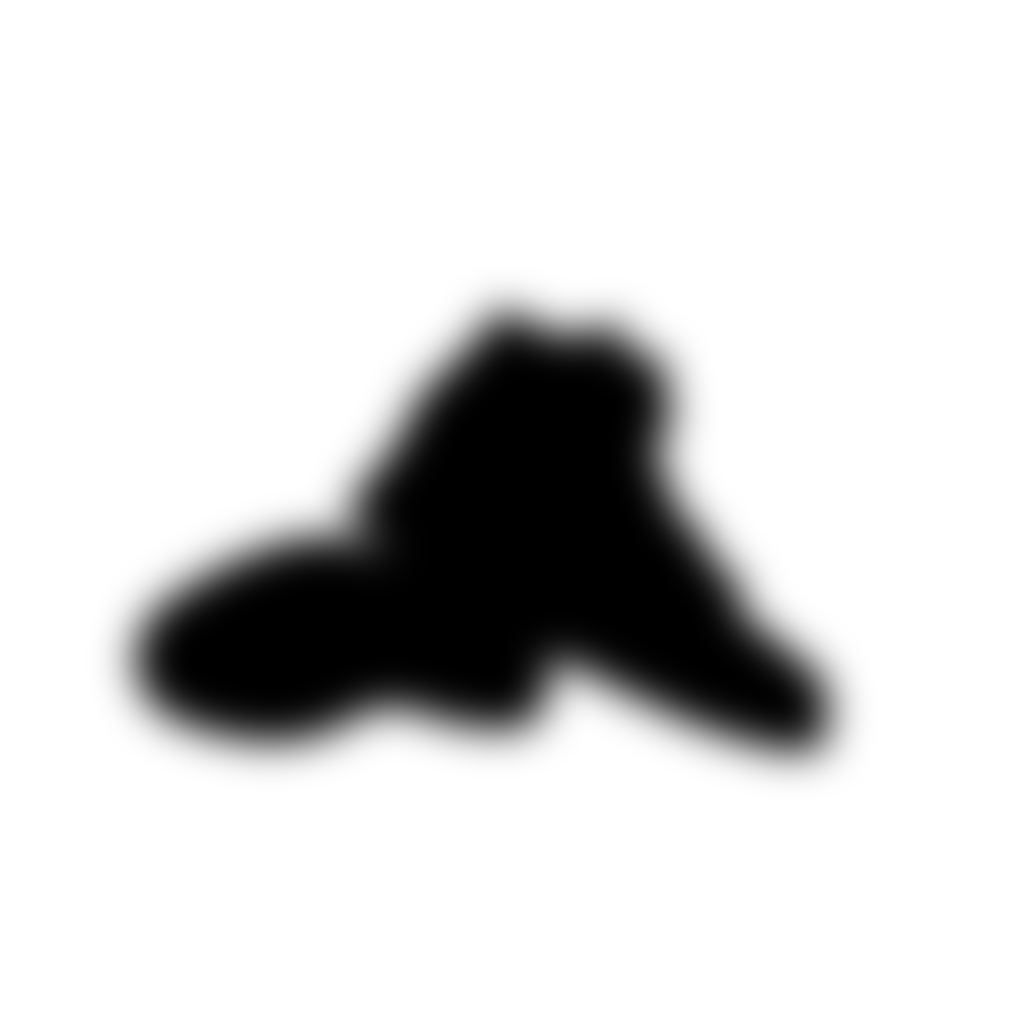
Create a better prompt and pass it to the generate_outpaint function to generate the final outpainted image. Again, paste the original image over the final outpainted background.
def generate_outpaint(prompt, negative_prompt, image, mask, seed: int = None):
    if seed is None:
        seed = random.randint(0, 2**32 - 1)

    generator = torch.Generator(device="cpu").manual_seed(seed)

    image = pipeline(
        prompt,
        negative_prompt=negative_prompt,
        image=image,
        mask_image=mask,
        guidance_scale=10.0,
        strength=0.8,
        num_inference_steps=30,
        generator=generator,
    ).images[0]

    return image

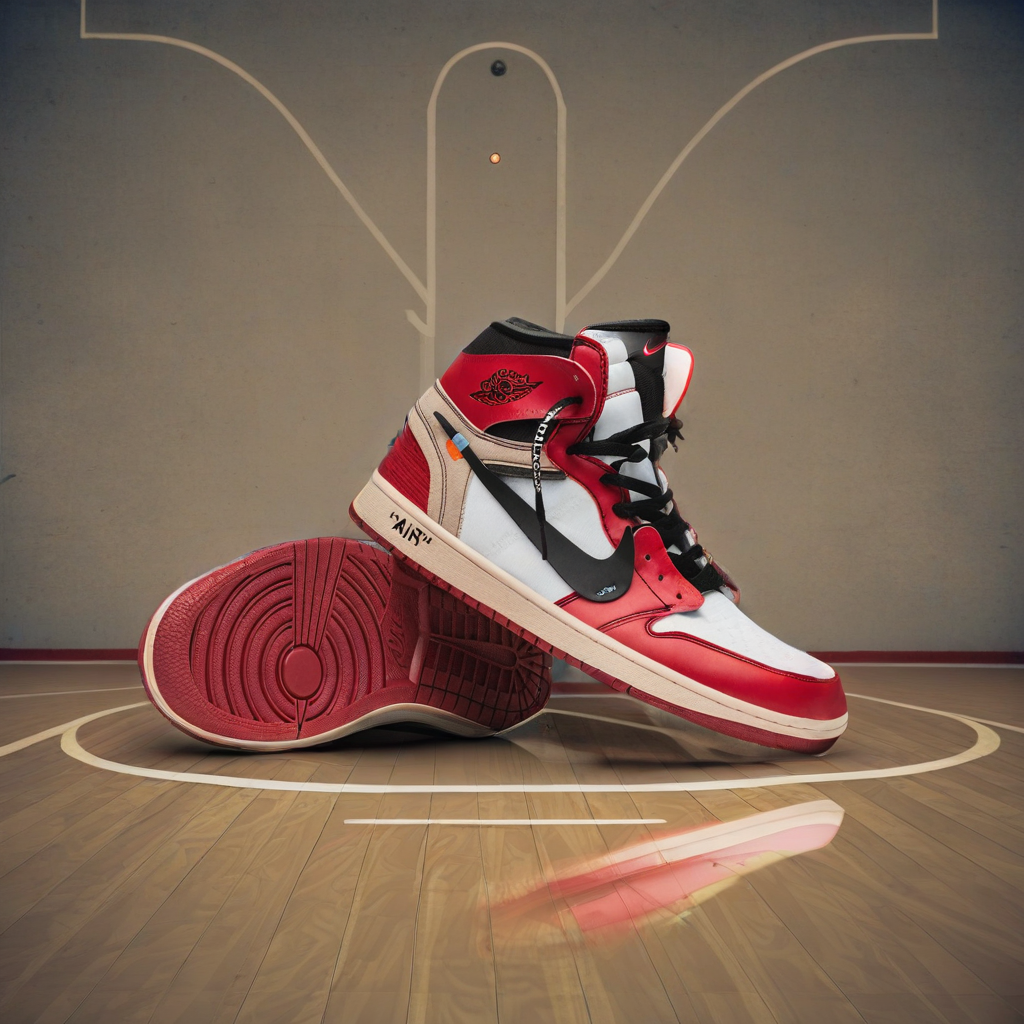
prompt = "high quality photo of nike air jordans on a basketball court, highly detailed"
negative_prompt = ""

final_image = generate_outpaint(prompt, negative_prompt, temp_image, mask_blurred, 7688778)
x = (1024 - resized_img.width) // 2
y = (1024 - resized_img.height) // 2
final_image.paste(resized_img, (x, y), resized_img)
final_image